JWKS CLI .NET global tool
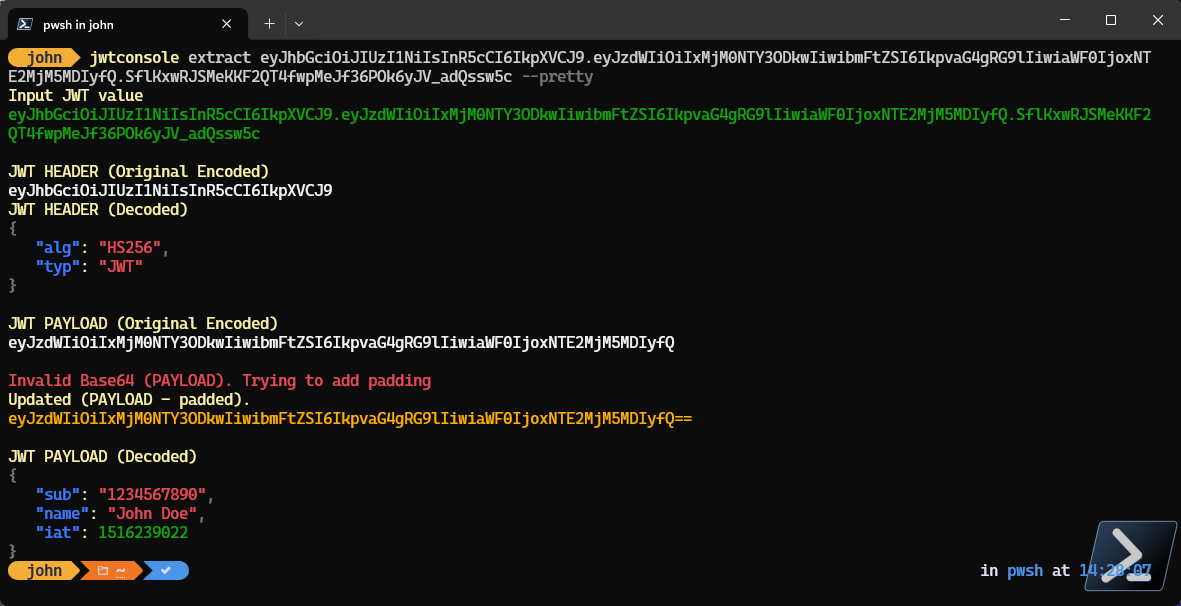
A CLI for helping with JWT and JWKs
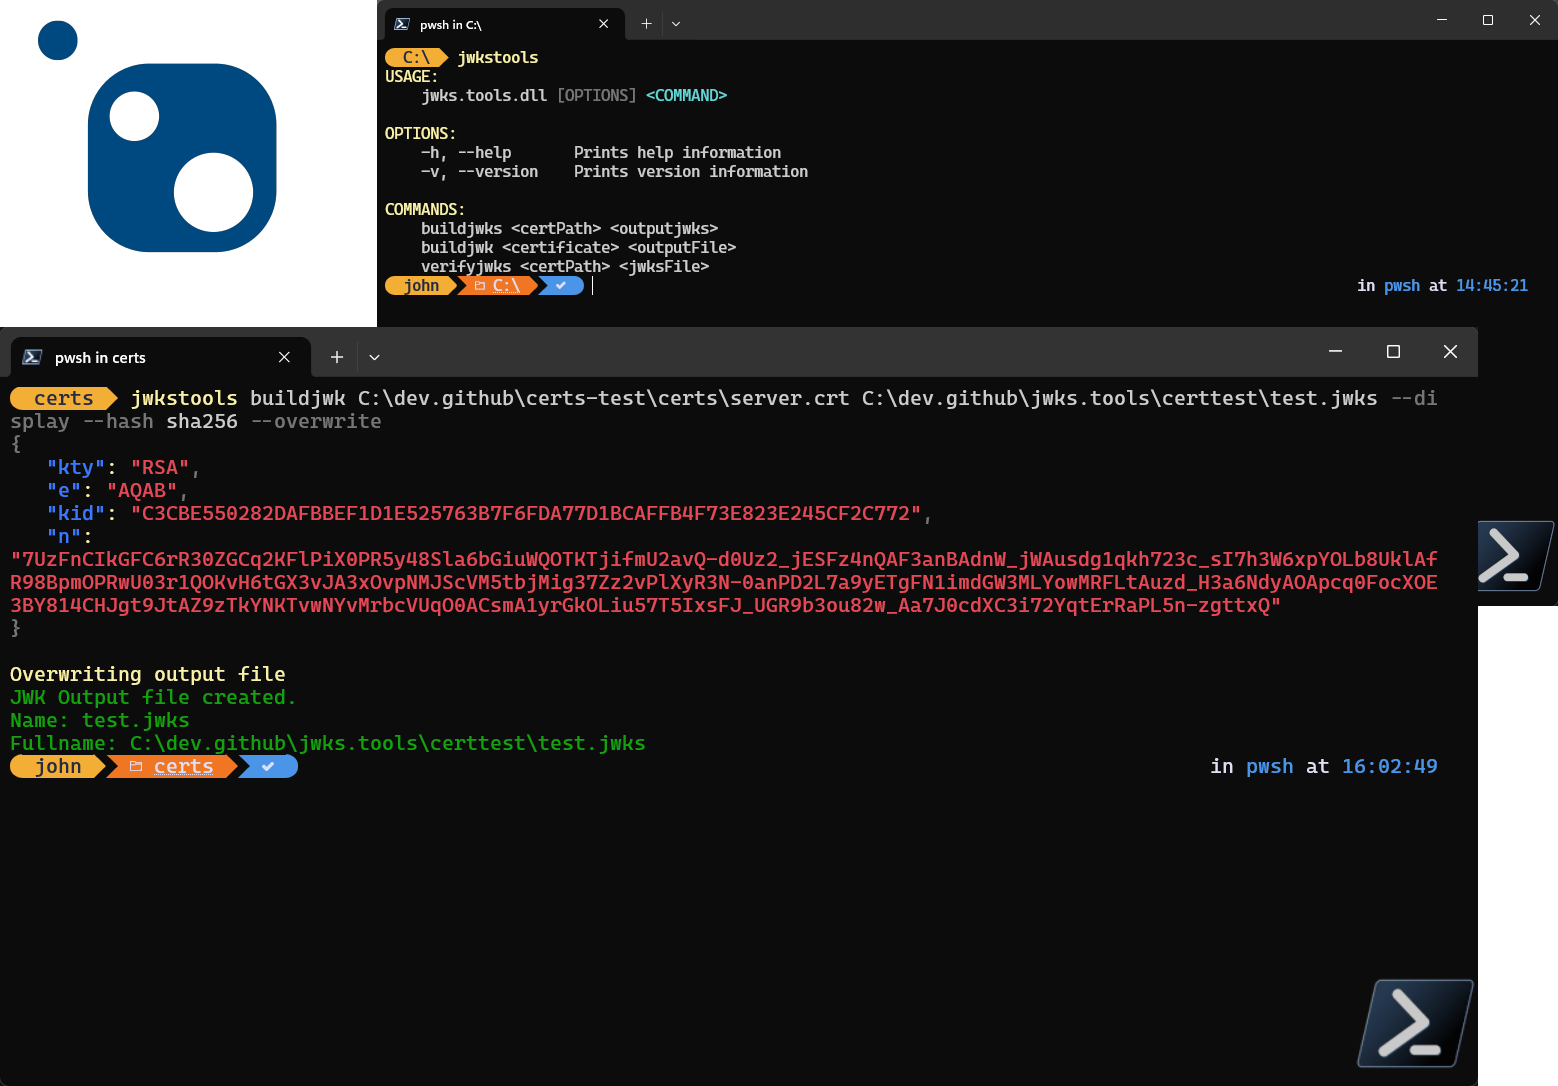
Recently I’ve been having to deal alot with JWT and JWK(s). I’ve also noticed that alot of tutorials and guides use tools like openssl to generate and verify the JWT and JWKs.
[Read More]